Imitating Tilt-Shift with Freelensing
How to imitate tilt-shift photography with freelensing
One of my favorite photography tricks that gives your images a distinctive feeling is freelensing. It’s a technique that imitates tilt-shift photography, a beautiful style of photography that gives you the ability to essentially “shift” your plane of focus. We’re going to cover how to imitate tilt-shift photography with freelensing, and how to freelens and protect your sensor.
What is freelensing?
Freelensing, also known as “lens whacking” is technique that imitates tilt-shift photography. The lens is detached from the camera body, and hand held over the lens mount. It allows you to tilt and shift the lens as you please. This can give a very distinctive, dream-like look to your photos, and may set you apart for a unique client experience in your photography.
How do I freelens?
It’s super simple–– detach your lens from you camera, hold it in front of the body and use your hand to adjust. Since the lens isn’t actually mounted to the camera, you can use any brand of lens. I’ve found that this works best with my old film lenses, as with those can manually adjust the apertures on the lens itself. If you are using a digital camera lens, the aperture may be all the way open or nearly closed when you do this, so you must adjust accordingly. I’ve found that when I’ve done this with Canon lenses, the aperture tends to be wide open. With Nikon lenses, I have found the opposite.
From here, you can use your focus ring to adjust. It’s a little difficult to get something sharply in focus using this technique, but not impossible. I tend to keep my focus at infinity to give me the most control over the lens. You can also shoot closer, macro shots using this technique since freelensing will create more magnification.
One thing to note; this will create light leaks. It makes the images very beautiful and dreamy, but if you’re not a fan, try to cover the opening of the lens with you hand as much as possible. If you do like light leaks, play around with how your hand is holding the lens.
Protecting your sensor while freelensing
Protecting your sensor while the lens is freely off of the camera is one of the most important elements here. You don’t want your sensor collecting tons of dust and dirt during this process. While you’ve got the lens off of the camera, make sure your hand stays firmly around the base of the lens and opening of the camera. Create as little room as possible with your hand while shifting your lens around to try and best protect your sensor. Each time you finish while freelensing, make sure to clean your lens of any dust before returning it to your camera body. It’s probably not a great idea to do this in any type of inclement weather or dusty areas.
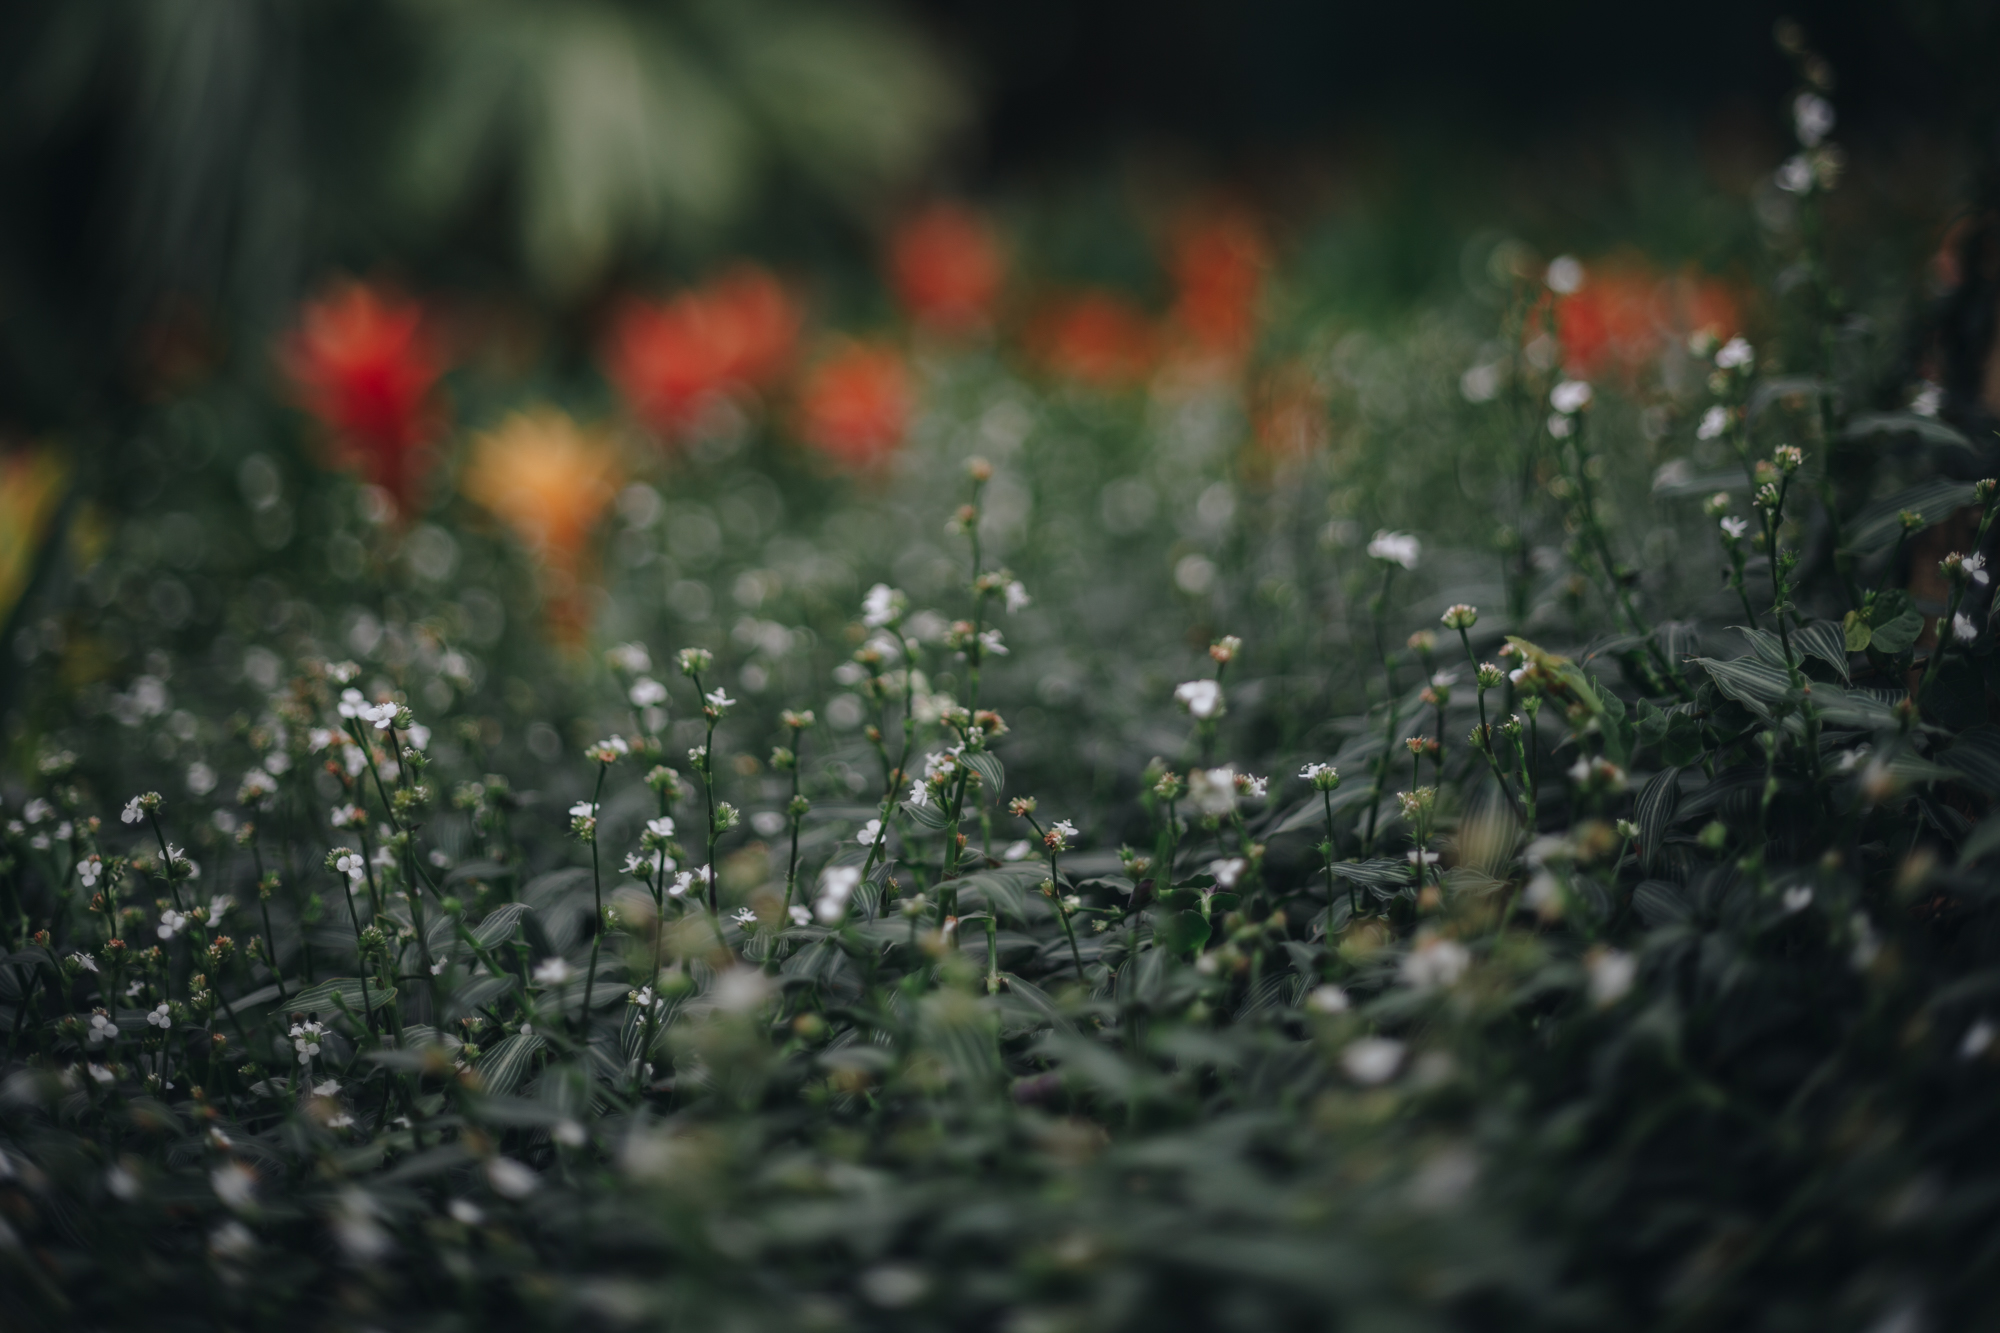
Examples of freelensing
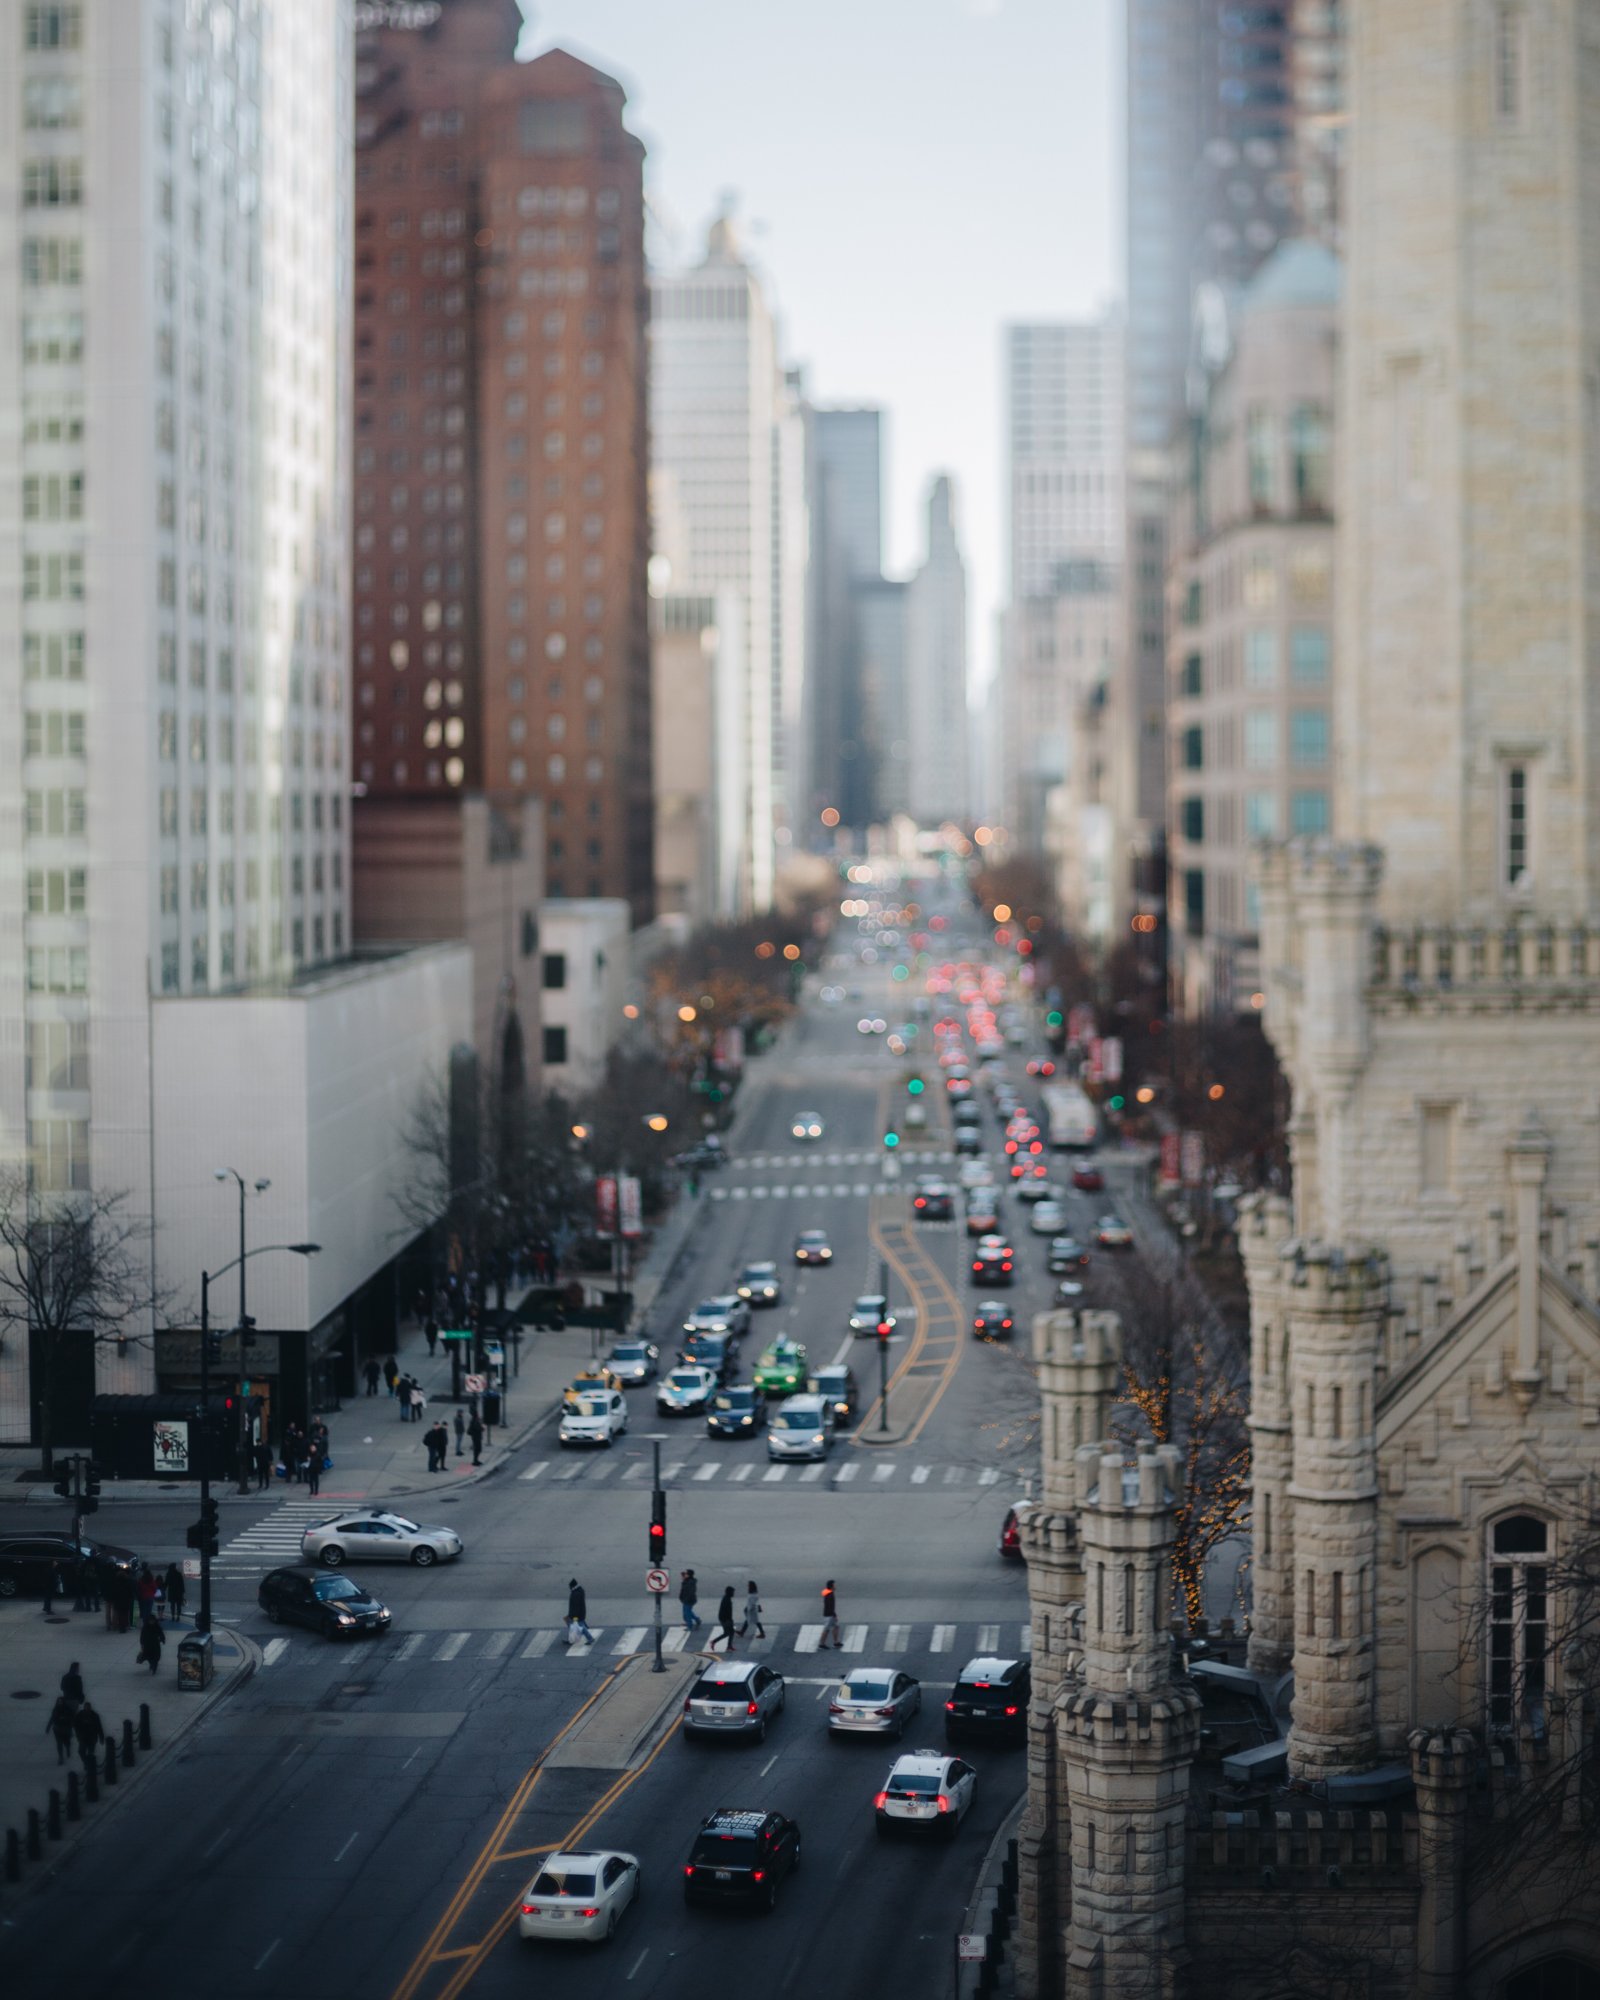


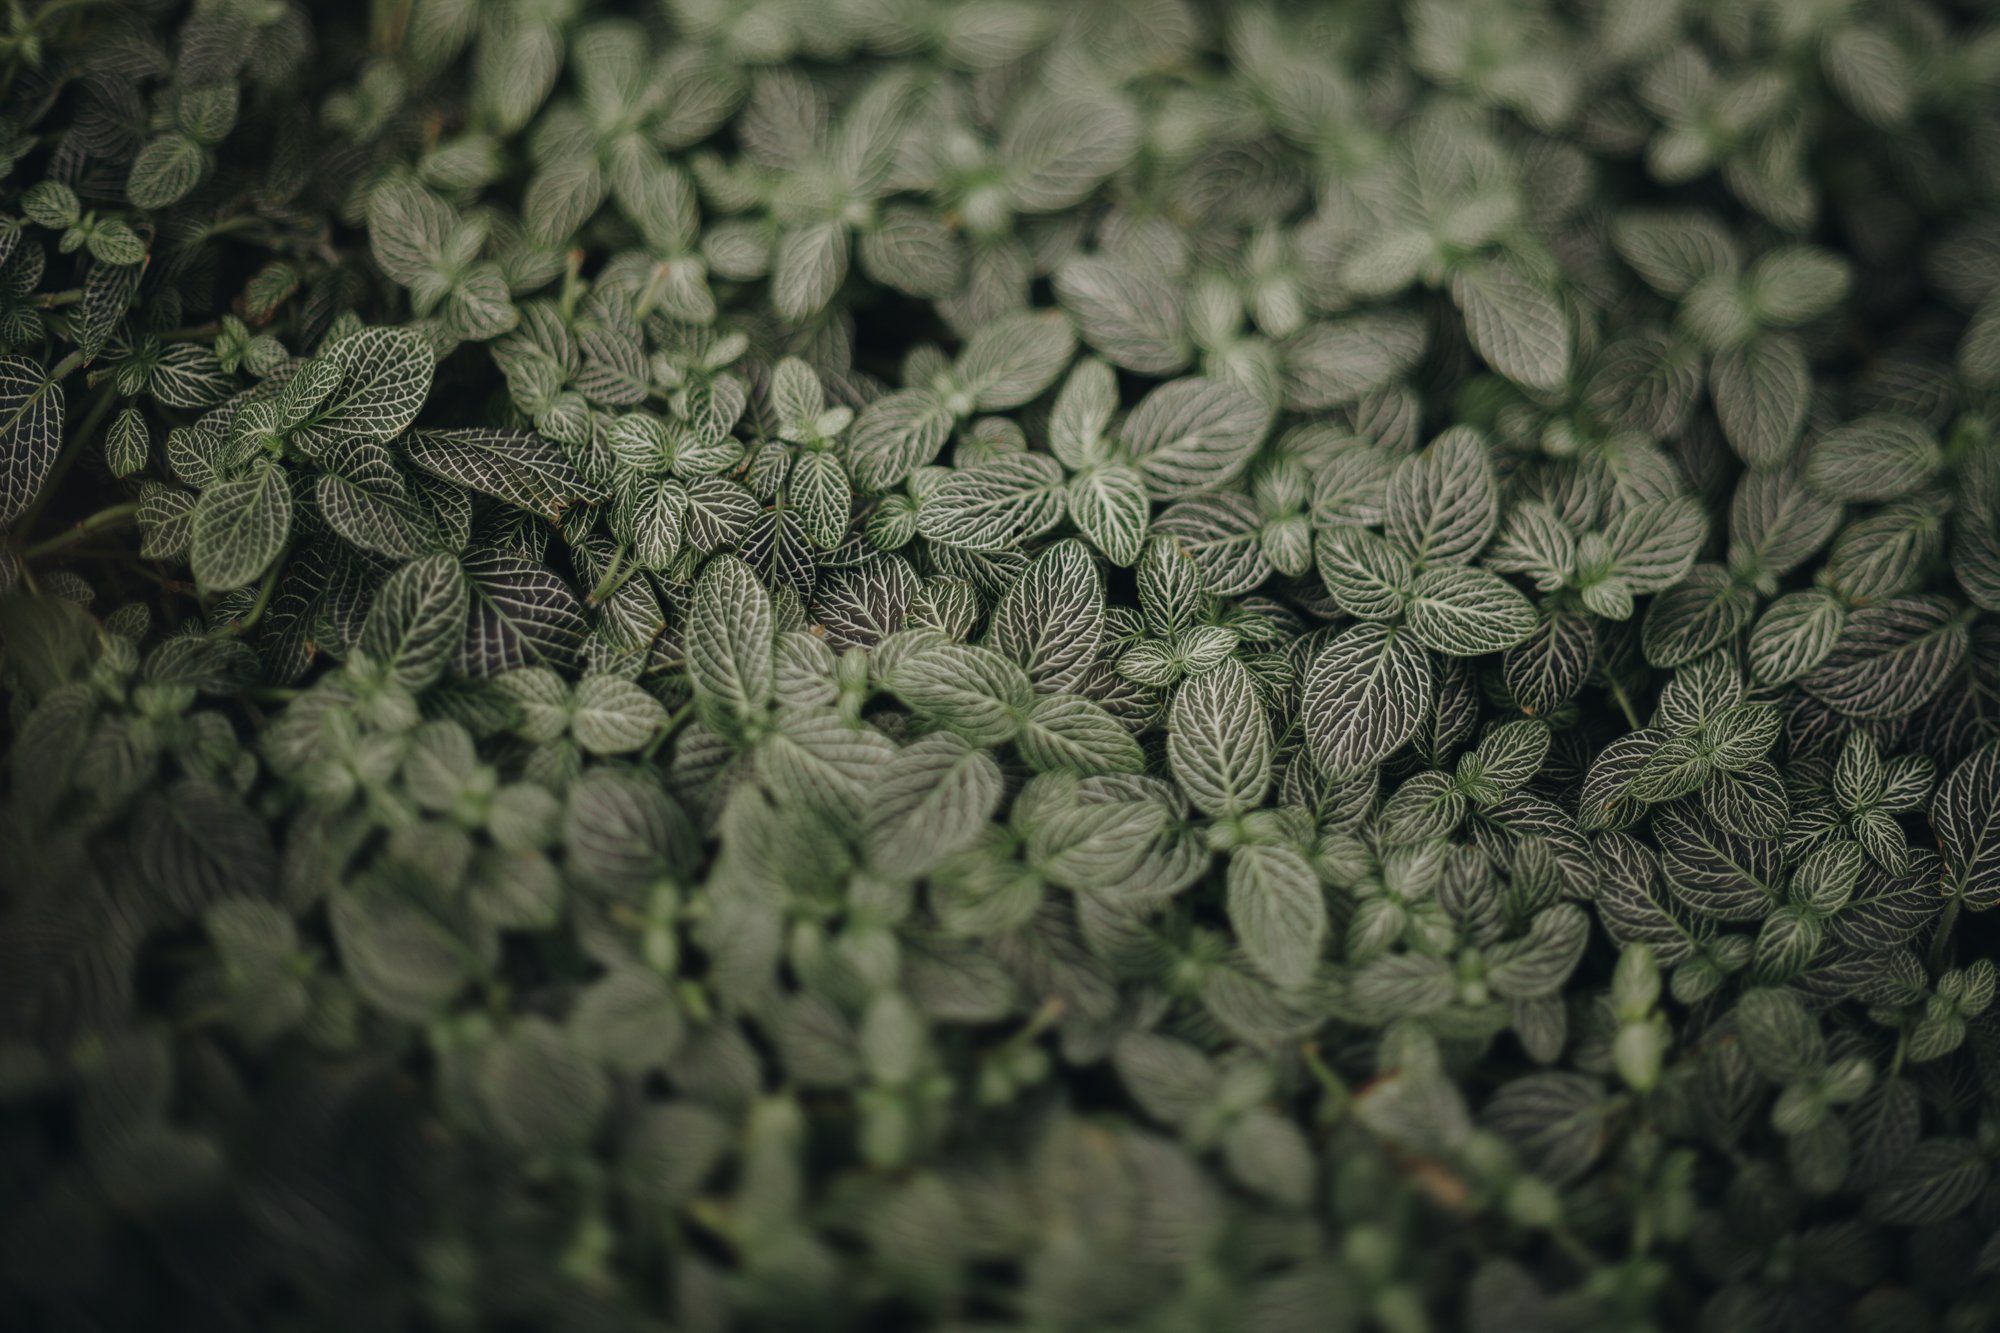
Let’s get to it!
Have you tried freelensing, or do you plan to? Let me know in the comments or tag me on Instagram @meganbreukelman, I want to see your freelens shots!